No products in the cart.
Payment methods accepted
Unsure what Ethernet cable you need?
Look no further than our Ethernet Cable Finder. Answer a couple of questions and let trueBOT guide you to the perfect cable for any situation.
Still have questions? Check out our in-depth blogs, insightful white papers, and instructional videos on all things Ethernet cable and low voltage supplies.

Read: The Difference Between Cat6 vs Cat6A Ethernet Cable

Understand: Selecting the Correct Outdoor Ethernet Cable
Time to find coaxial cable and connectors for your install? Well, you are in the right spot!Check out our in-depth blogs, white papers, and instructional videos about everything going on in the low voltage industry and one of the best sources for coaxial information.
Have questions? Our networking experts have the answers!Check out our Cable Academy. for more information.

Read: The Difference Between Dual Shield vs Quad Shield Coaxial Cable
Understand: How To: Universal RG6 Compression F Connector on Quad Shield Coaxial Cable
Fiber Optic expertise at your fingertips.
Looking to deepen your understanding of fiber optic technology? Look no further than trueCABLE's Cable Academy. Our extensive collection of blogs, masterfully crafted by industry experts, offers a wealth of invaluable insights into the world of fiber optic cabling.
Have questions? Our networking experts have the answers.Check out our Cable Academy. for more information.
Read: Fiber Optic Splicing: Examining the Factors that Affect Splice Performance

Understand: Using Fiber Optics to Extend Your Ethernet Network Beyond Copper's Limits
Effortless cable management. Learn how we do it.
Low-voltage tools and accessories should keep your networking installations clean and organized. trueCABLE has a variety of high quality cable management tools, accessories and informative blogs for all your installation needs.
Check out our Cable Academy today and expand your knowledge.
Read: Copper Fabric Strips for Bonding Shielded Ethernet Cable
Understand: When Aliens Attack! Avoiding Ethernet Alien Crosstalk
Written by Don Schultz, trueCABLE Senior Technical Advisor, Fluke Networks Copper/Fiber CCTT, BICSI INST1, INSTC, INSTF Certified
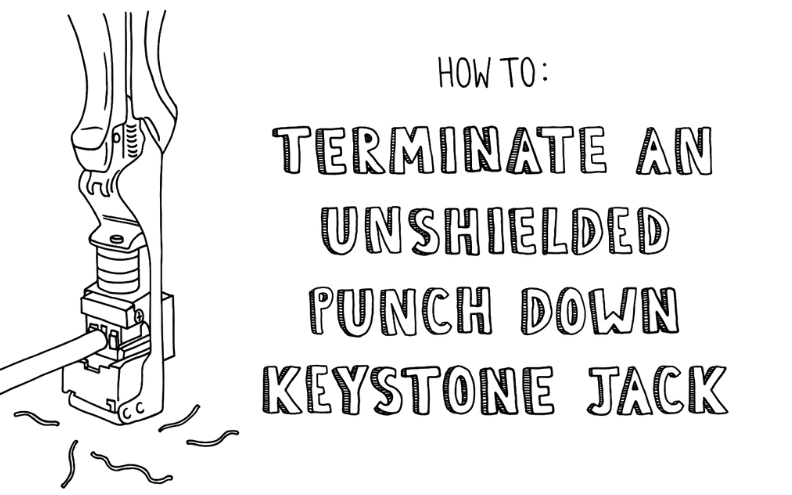
Options are a good thing to have at your disposal. When terminating Ethernet cable, there are a number of ways such as with RJ45 plugs, patch panels, and keystone jacks. We will be focusing on a certain type of keystone jack for this blog, and it is “old school”. Meet the punch down keystone jack—your best friend when it comes to keystone jack termination.
Do you need to terminate your Ethernet cable but are unsure how to terminate an unshielded punch down keystone jack? Don’t let the “old school” moniker fool you. The punch down keystone jack, generally speaking, remains extremely effective and costs less per jack than the toolless types.
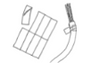
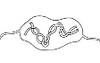
Keystone jacks help to avoid “spaghetti monster” cable installations. When used as intended, keystone jacks become your secret weapon to help avoid this, allowing you to install a “permanent link”. How do I get one of those, you may ask? Well, you will definitely need an Ethernet keystone jack to pull it off! The other end of the permanent link will be yet another keystone jack or a patch panel. For the DIY installer, this might be a new concept. Many first time installers will put RJ45 connector plugs onto both ends of the cable. Now, this will work, but it will restrict your installation in one key way: flexibility. It is also the potential birth of the “spaghetti monster”. Another item worth mentioning is that permanent links change up permitted lengths. You get more flexibility, but there are a few more rules to be aware of as outlined in Maximum Ethernet Cable Length.
The downside to punch down keystone jacks is they require an additional tool specifically designed to terminate them. The most common tool used is the 110 type kinetic energy punch down tool such as the one trueCABLE sells, our trueIMPACT. This method is time tested, but also potentially time consuming!
The trueTERM EZ termination tool is the best option for those that install gobs of punch down keystone jacks. This tool makes the process faster and more accurate.
This blog is a companion to the video below. I strongly recommend you watch the video and read the blog. Both mediums bring something to the table.
This blog focuses on our punch down Cat5e unshielded keystone jack. These instructions are suitable for any of our unshielded punch down keystone jacks, regardless of Category. Just be aware that Cat5e cable does not have a center spline, and both Cat6 and Cat6A will require spline removal.
Before you can terminate an unshielded punch down keystone jack, you’ll need to ensure you have all the supplies on-hand. Here are the tools you will need or want:

For cable stripping and preparation...

Either of these tools will work
Now that you’re properly equipped, it’s time to learn how to perform the keystone jack termination. For this demonstration I am using our Cat5e Unshielded Plenum cable.

Both sides of the jack housing, showing off the T568A and B color code schemes.

Pointed IDC towers, outlined in red, which allow for conductor pair separation. You can also just make out the actual metal contacts at the bottoms of the IDC slots.

Start by stripping off about 2 ½” of cable jacket. You want to score it, not cut through it. Then, pop open the jacket by bending a couple of times at the score.

Cut off the rip cord and inspect for conductor nicks. Don’t underestimate the importance of checking for conductor nicks at the jacket edge!
If you accidentally nicked a conductor, you will need to start over. See What Does a Bad Termination Look Like? for pictures of what to look out for.

Orient the conductor pairs so they line up with the chosen T568A or B color code scheme. We are using T568B for this demonstration.
It does not matter whether you use the T568A or T568B color coding scheme. One is not better than the other. Just be sure to use the same color at both ends of the cable run!

Do not place any part of the cable jacket into the jack housing. Doing so will make proper termination difficult or impossible.

Conductor pairs threaded into IDC channels

For 110 tool impact punch down, punch all eight wires fully into their IDC slots

The EZ termination tool makes this simple. Place the pre-threaded jack in the tool, and operate the handle. All conductors should be seated and cut in one operation.

Inspect your work. The conductors should be fully seated in the IDC channels and flush cut off. Snap on the IDC cap and done! All ready to insert into a wall plate or keystone jack patch panel
Well, there you have it. A ready to go keystone jack termination. Now you can plug a patch cable into the RJ45 port on the jack and gain a degree of flexibility you may not have had previously.
HAPPY NETWORKING!!
WAIT! Something went wrong? Check out What Does a Bad Termination Look Like?
trueCABLE presents the information on our website, including the “Cable Academy” blog and live chat support, as a service to our customers and other visitors to our website subject to our website terms and conditions. While the information on this website is about data networking and electrical issues, it is not professional advice and any reliance on such material is at your own risk.